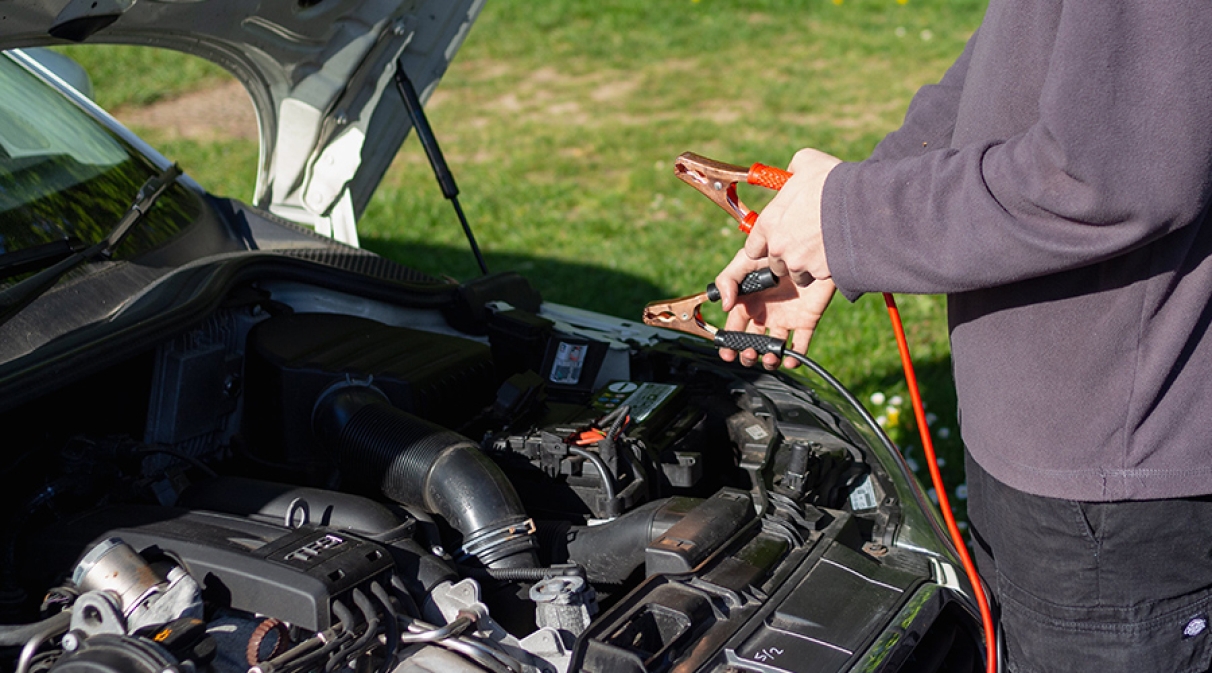
Battery booster: when and how should you use it?

If you've ever had a flat car battery, you know how frustrating it can be. However, there is a practical and effective solution: the use of a battery booster. In this post, we'll not only guide you through how to jump-start your car with this device, but we'll also explore the reasons behind the occasional need for a boost and the importance of having a booster in your vehicle.
Why does your car need a boost to start?
There are several reasons why your car battery may often need a boost. It could be due to the ageing of the battery, which no longer holds charge effectively, or there could be a problem with your vehicle's charging system. In addition, extreme temperatures can also affect the battery's performance, making it less efficient.
Is it worth investing in a battery booster?
Yes, definitely! A battery booster is an excellent addition to your car's emergency kit. As well as giving you the peace of mind of getting back on the road quickly, it also provides power for all your electronic devices on the move. Whether during a long journey or in an emergency situation, having the ability to charge your electronics can be crucial.
How to start your car with a Battery Booster: Step by Step
Starting your car with a battery booster can be a simple and effective task in emergency situations. In this step-by-step guide, we explain the necessary steps to ensure a safe and successful start of your vehicle while using a battery booster.
Step 1: Check the Booster's Charge and Position It Properly
Before you start, make sure the battery booster is fully charged and place it on a stable surface. This prevents accidental drops when the engine starts.
Step 2: Connect the Starter Cables
Connect the positive (+) starter cable, usually red, from the booster to the positive (+) terminal on the car battery.
Step 3: Connect the earth cable (-)
Connect the negative (-) earth cable, usually black, to an unpainted part of the chassis or engine block.
Step 4: Switch on the booster
Activates the battery booster after all connections are secure.
Step 5: Try to start the car
Try to start the car by turning the key in the ignition. If it starts immediately, that's a great sign!
If it doesn't start immediately, you shouldn't press the ignition for more than 5 seconds. You should wait 2-3 minutes before trying this procedure again. If, after a few attempts, the car doesn't start, it could indicate a more serious problem that should be assessed by a professional.
Step 6: Leave the car running for 5 minutes
If the car starts, leave the engine running for approximately 5 minutes. Then switch off the booster and allow the engine to continue running for another 5-10 minutes.
Step 7: Disconnect the Starter Cables in Reverse Order
Disconnect the negative earth cable (-) first and then the positive starter cable (+), keeping the reverse order of the initial connection.
Step 8: Try Starting the Vehicle Again
Finally, try starting your vehicle again by turning the key in the ignition until the engine starts. Remember that after a successful start, the car's battery needs to be fully recharged, so you should walk around and keep it switched on for at least 20 minutes.
Having a battery booster pack in your vehicle is more than a convenience; it's a smart preventative measure for dealing with flat battery situations. Follow this step-by-step guide and be ready to face challenges on the road with confidence. Stay safe and on the move with your battery booster always at hand!


Comments : 0